本篇文章将聊聊如何高效的将代码仓库中的提交记录和目录结构,快速转变为“酷炫的视频”。分享如何使用 Docker 在不同 CPU 架构的设备上运行 gource,以及如何基于最新的 M1 Pro 芯片的设备,让制作可视化视频的效率成倍提升。
写在前面
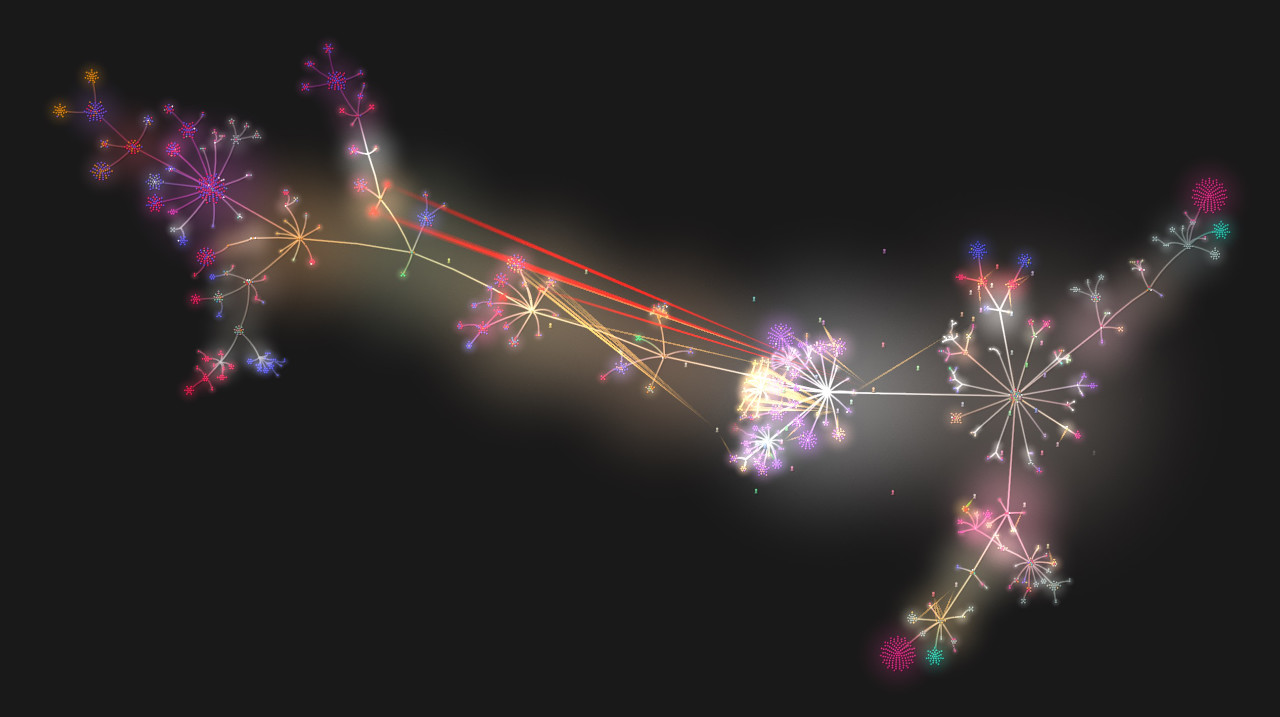
前一阵为了庆祝社区项目 Milvus 在 GitHub 获得了一万颗星星,我制作了一个视频,用来动态的展示在过去的时间里,这个项目的具体提交状况和项目组织架构变化状况。
最近有同事聊开源项目的“维护血泪史”时,又提到了这件事。勾起了我当时制作视频的痛苦回忆:当时的视频制作方案是使用 docker 运行 gource。在针对诸如 Milvus 仓库这种提交量比较大的仓库时(1.4万提交),想要生成可视化视频,使用我手头的 i9 处理器的设备,至少需要跑个把小时。而当我将相同的操作换到 M1 设备(M1 Pro)运行后,或许是因为 docker 中的应用并未针对 ARM 芯片做优化、又或许是 docker 中的程序版本不够新,相同的工作量,甚至需要跑半天才能搞定!
不论如何,这个结果未免太不科学了。

且不说 M1 的运行结果“出乎意料”,但就是个把小时的视频生成时间,也让我感觉挺不舒服的。作为一个追求效率的老程序员,我花了一些时间,终于摸索出了这个问题的“正确答案”:如果使用针对 M1 芯片而编译的程序,整个视频的生成时间可以缩短到半个小时左右,相比较之前提升效果颇为明显。
在展开聊聊我是如何做的之前,我想先介绍一下 gource 这款开源软件。
关于 Gource
2009 年,来自新西兰的工程师 Andrew Caudwell,希望能够将各种代码版本管理软件的信息可视化,于是他使用 C++ 编写了 Gource 这个程序。2011 年,项目从 Google Code 迁移至 GitHub 后,项目开启了年更模式。
比较幸运的是,截止本文成文写出的时候,软件已经发布了今年的两个重要更新:包含视网膜屏幕的支持,以及针对字体缩放功能进行了大量修正,并将软件使用的正则库升级为了 PCRE2,程序版本更新到了 0.53 。
因为项目在 GitHub 发布页面中只提供了 Windows 版本的程序,所以如果我们想获取 Linux / macOS 的新版本程序,就只能自己进行编译啦。(Ubuntu APT 仓库中的版本还停留在 2019 年发布的 0.51)
接下来,我们先来聊聊如何进行编译,如果你希望使用 Docker 或 x86 设备,可以阅读本文后面的章节。
在 M1 设备上进行 Gource 的编译
为了能够在 macOS 上完成新版本的程序编译,我们需要先完成 gource 的依赖安装:
brew install pkg-config freetype2 pcre2 glow sdl2 sdl2_image boost glm autoconf
如果你没有完成上述依赖的安装,那么在执行 ./configure 的时候,一定会遇到诸如下面的问题:
checking for FT2... configure: error: in `/Users/soulteary/lab/gource-0.53':
configure: error: The pkg-config script could not be found or is too old.  Make sure it
is in your PATH or set the PKG_CONFIG environment variable to the full
path to pkg-config.

...

No package 'libpcre2-8' found

...
当我们安装完毕依赖之后,还需要配置一下编译参数,让程序在编译的时候能够找到我们刚刚安装的依赖。不然,就会出现类似下面的错误:
checking for boostlib >= 1.46 (104600)... configure: We could not detect the boost libraries (version 1.46 or higher). If you have a staged boost library (still not installed) please specify $BOOST_ROOT in your environment and do not give a PATH to --with-boost option.  If you are sure you have boost installed, then check your version number looking in <boost/version.hpp>. See http://randspringer.de/boost for more documentation.
configure: error: Boost Filesystem >= 1.46 is required. Please see INSTALL

...

configure: error: GLM headers are required. Please see INSTALL

...
对于 boost 框架,我们可以通过简单使用 --with-boost 参数来指定依赖的目录,而对于 glm(OpenGL Mathematics),因为它是一个仅包含头文件的数学库,所以我们必须使用 CPPFLAGS 等参数,将路径传递给 configure。
但是我们要如何在 macOS 中获得由 brew 安装的 glm 或 boost 路径呢?这里可以将下面两种方法进行组合使用。
第一种查找路径的方法是使用 brew list 命令,获取我们安装的某个软件的详细目录列表,在输出日志中寻找或尝试出正确的目录。以 boost 举例,当我们执行完毕 brew list boost 之后,能够看到类似下面的输出结果:
/opt/homebrew/Cellar/boost/1.78.0_1/include/boost/ (15026 files)
/opt/homebrew/Cellar/boost/1.78.0_1/lib/libboost_atomic-mt.dylib
/opt/homebrew/Cellar/boost/1.78.0_1/lib/libboost_chrono-mt.dylib
...
其中 /opt/homebrew/Cellar/boost/1.78.0_1/ 就是 boost 的根目录,将这个路径拼合为 --with-boost=/opt/homebrew/Cellar/boost/1.78.0_1/ 参数,然后就能够在编译中使用 boost 啦。
第二种路径的查找方法,是使用 pkg-config 工具,输出 C++ 项目编译可以使用的具体目录参数。特别适合 glm 这类项目。我们通过为 pkg-config 添加参数,可以得到命令 pkg-config glm --libs --cflags,当命令执行完毕,就能够得到编译时可以直接使用的目录地址了:
-I/opt/homebrew/Cellar/glm/0.9.9.8/include
将上面的参数进行整合,不难得到在 M1 设备上的进行编译配置的完整命令:
./configure --with-boost=/opt/homebrew/Cellar/boost/1.78.0_1/ CPPFLAGS="-I/opt/homebrew/Cellar/glm/0.9.9.8/include"
当命令执行完毕,不出意外,我们将看到类似下面的日志输出:
checking for a BSD-compatible install... /usr/bin/install -c
checking whether build environment is sane... yes
checking for a thread-safe mkdir -p... build-aux/install-sh -c -d
checking for gawk... no
checking for mawk... no
checking for nawk... no
checking for awk... awk
checking whether make sets $(MAKE)... yes
checking whether make supports nested variables... yes
checking build system type... arm-apple-darwin21.4.0
checking host system type... arm-apple-darwin21.4.0
checking for g++... g++
checking whether the C++ compiler works... yes
checking for C++ compiler default output file name... a.out
checking for suffix of executables...
checking whether we are cross compiling... no
checking for suffix of object files... o
checking whether we are using the GNU C++ compiler... yes
checking whether g++ accepts -g... yes
checking for style of include used by make... GNU
checking dependency style of g++... gcc3
checking for timegm... yes
checking for unsetenv... yes
checking how to run the C++ preprocessor... g++ -E
checking for X... disabled
checking for a sed that does not truncate output... /usr/bin/sed
checking for gcc... gcc
checking whether we are using the GNU C compiler... yes
checking whether gcc accepts -g... yes
checking for gcc option to accept ISO C89... none needed
checking whether gcc understands -c and -o together... yes
checking dependency style of gcc... gcc3
checking for the pthreads library -lpthreads... no
checking whether pthreads work without any flags... yes
checking for joinable pthread attribute... PTHREAD_CREATE_JOINABLE
checking if more special flags are required for pthreads... -D_THREAD_SAFE
checking how to run the C preprocessor... gcc -E
checking for grep that handles long lines and -e... /usr/bin/grep
checking for egrep... /usr/bin/grep -E
checking for ANSI C header files... yes
checking for sys/types.h... yes
checking for sys/stat.h... yes
checking for stdlib.h... yes
checking for string.h... yes
checking for memory.h... yes
checking for strings.h... yes
checking for inttypes.h... yes
checking for stdint.h... yes
checking for unistd.h... yes
checking whether we are using the Microsoft C compiler... no
checking windows.h usability... no
checking windows.h presence... no
checking for windows.h... no
checking for GL/gl.h... no
checking for OpenGL/gl.h... yes
checking for OpenGL library... -framework OpenGL
checking for GL/glu.h... no
checking for OpenGL/glu.h... yes
checking for OpenGL Utility library... yes
checking for varargs GLU tesselator callback function type... no
checking for pkg-config... /opt/homebrew/bin/pkg-config
checking pkg-config is at least version 0.9.0... yes
checking for FT2... yes
checking for PCRE2... yes
checking for GLEW... yes
checking for SDL2... yes
checking for PNG... yes
checking for IMG_LoadPNG_RW... yes
checking for IMG_LoadJPG_RW... yes
checking for boostlib >= 1.46 (104600) includes in "/opt/homebrew/Cellar/boost/1.78.0_1//include"... yes
checking for boostlib >= 1.46 (104600) lib path in "/opt/homebrew/Cellar/boost/1.78.0_1//lib/arm-darwin21.4.0"... no
checking for boostlib >= 1.46 (104600) lib path in "/opt/homebrew/Cellar/boost/1.78.0_1//lib"... yes
checking for boostlib >= 1.46 (104600)... yes
checking whether the Boost::System library is available... yes
checking for exit in -lboost_system... yes
checking whether the Boost::Filesystem library is available... yes
checking for exit in -lboost_filesystem... yes
checking glm/glm.hpp usability... yes
checking glm/glm.hpp presence... yes
checking for glm/glm.hpp... yes
checking that generated files are newer than configure... done
configure: creating ./config.status
config.status: creating Makefile
config.status: executing depfiles commands
接下来,执行 make ,系统就会开始对 gource 进行编译,在编译完成之后,接着执行 sudo make install,gource 的编译安全就结束啦。
在 M1 设备上使用 Gource 进行代码仓库可视化
在使用 gource 制作视频前,我们需要评估项目所需的硬盘空间,生成视频的尺寸和仓库的提交量(commits)、总的文件目录数量、项目维护时间长,都有很大关系,这里以前文中提到的 Milvus 仓库为例。
这个仓库从 2019 年开始维护,截止当前有 1.4 万次提交,如果想我们生成 1280x720 尺寸的视频内容,假设将项目每天的提交数据展示的时间设置为 1 秒,过程中将输出 370 多 GB 的 临时文件(PPM 截图文件),所以在开始进行仓库可视化之前,请确认你的硬盘留有足够的空间。
下载要进行可视化的代码仓库
可视化的第一步,是将我们要可视化的仓库下载到本地,比如:
git clone https://github.com/milvus-io/milvus.git
使用 Gource 进行可视化渲染
接下来,我们需要使用 gource 指定我们未来希望得到的视频的最大分辨率,以及一些关键细节:
- 我们希望这个视频中,每一天的展示时间为多久(本例为1秒)
- 我们希望这个视频中,视频的最大帧率是多少(本例为30帧)
- 我们希望输出的文件名和刚刚使用
git clone下载好的仓库的目录名是什么
gource --viewport 1280x720 \
    --high-dpi \
    --seconds-per-day 1 \
    --output-ppm-stream milvus.ppm \
    --output-framerate 30 \
    milvus
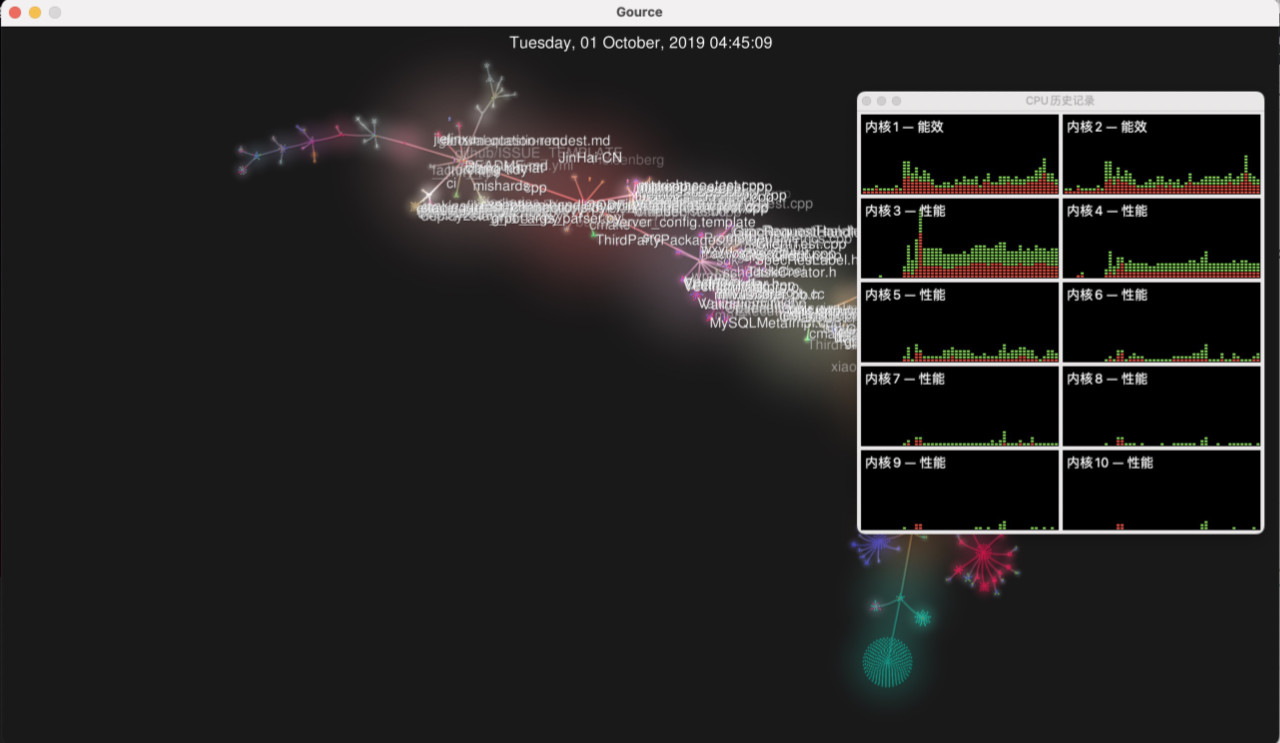
执行上面的命令,程序将会打开一个预览界面,开始将仓库的每一次提交记录和当时的目录结构进行可视化绘制。
经过相对漫长的等待之后(19分钟左右),当命令执行完毕,我们就得到了包含所有代码仓库提交信息、目录变化信息的临时文件:milvus.ppm。
使用 ffmpeg 生成最终的视频文件
我们在上一步得到的文件,足足有 370 GB 之大。为了得到一个方便后续剪辑或在各种网络平台上传播的文件,我们还需要使用 ffmpeg 对其进行格式转换。
如果你没有安装过 ffmpeg,可以考虑使用下面的命令完成安装(本文使用版本为 5.0.1)。
brew install ffmpeg
想要生成一个兼容性比较好的 H264 格式的 milvus.mp4 文件,可以使用下面的命令:
ffmpeg -y -r 30 -f image2pipe -loglevel info -vcodec ppm -i ./milvus.ppm -vcodec libx264 -preset medium -pix_fmt yuv420p -crf 1 -threads 0 -bf 0 ./milvus.mp4
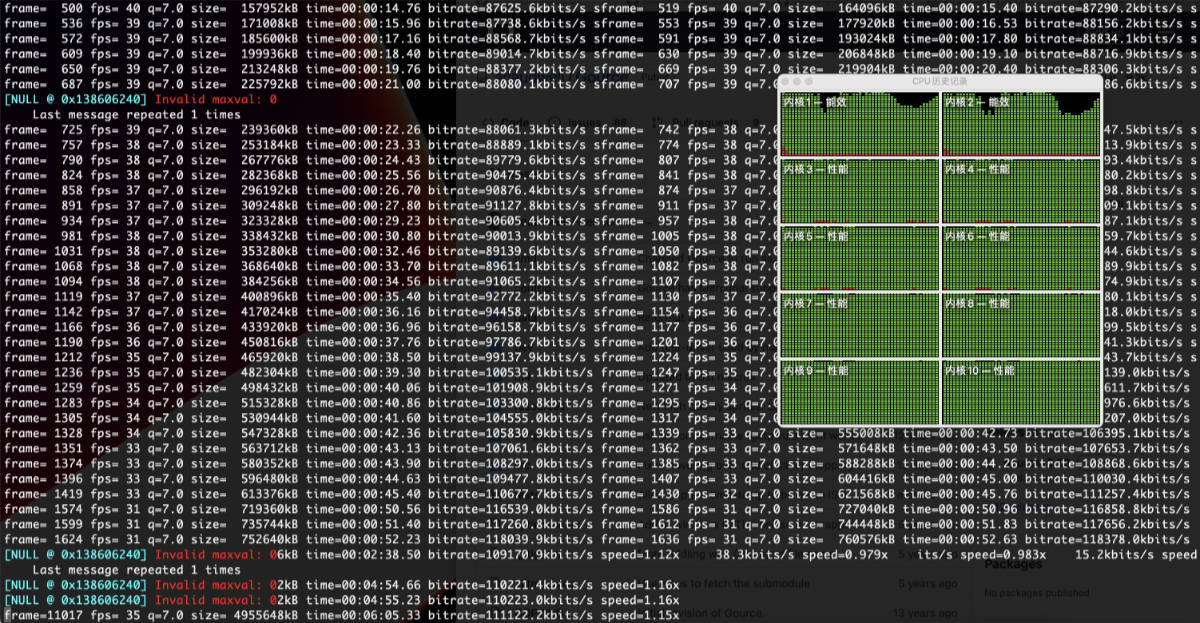
耐心等待命令执行完毕(14分钟左右),我们就能够得到包含酷炫结果的视频文件啦。相比较上一步骤中的 370GB 临时文件,视频文件显得相对小巧,只需要 12GB 左右的空间。
使用 Docker 进行代码仓库的可视化
如果你不追求更高的转换效率,可以接受“离线任务”的执行方式,可以考虑使用开源项目 sandrokeil/docker-files/ 中的 gource 镜像。
使用方法非常简单,只需要一条命令:
docker run --rm -it -v `pwd`/repo:/repos -v `pwd`/results:/results -v `pwd`/avatars:/avatars -v `pwd`/mp3s:/mp3s sandrokeil/gource:latest
在上面的命令中,我们需要做一些简单的准备:
- 把我们的代码仓库放置于当前目录下的
repo目录中。 - 将我们计划进行替代的用户头像放在
avatars目录中。 - 如果你希望程序生成视频的过程中,顺带完成背景音的配乐,可以将
mp3文件放在mp3s目录中。
当命令执行完毕之后,我们就能够在本地的 results 目录中找到我们的可视化视频文件了。
其他
除了忠实还原仓库中的每一次提交之外,Gource 还支持根据参数筛选时间启止、筛选生成指定用户的贡献记录、甚至搭配 shell 可以筛选生成指定目录的变化记录。
所以,当我们想进行某个大版本回顾,或者庆祝某位开源社区的用户成为项目 maintainer 时,把这些“混杂着代码的时间碎片”通过视频进行还原呈现,或许是一个不错的主意。
最后
希望这篇内容能够帮到有相同需求的你。
下一篇相同主题的内容,我将分享 gource 之外的项目可视化方案,一个相对轻量的方案。
–EOF