这篇文章躺在草稿箱里有一个多月了,恰逢最近一段时间远程协作需求,以及 Traefik v2 的升级,于是便有了这篇文章。
如果你的团队也需要一个内部看板,Phabricator 是个不错的选择:能提供简单的任务管理、能提供工作看板、支持代码讨论、甚至能够让设计师也使用起来,当然还有它主打的代码审计 / Review和管理功能。
写在前面
最早接触它是在 2012 年,八年之后,这款工具的开源版本变的更加好用了。
- 开源仓库:https://secure.phabricator.com/source/phabricator/repository/stable/
- 镜像仓库:https://github.com/phacility/phabricator/
- SaaS 版本:https://www.phacility.com/phabricator/
从开源仓库可以看到,社区版的代码一直在持续更新,而且现在还提供了 SaaS 版本,考虑到私密性和账户集成等定制要求,这里决定自建服务,并自行封装容器镜像。
考虑到不是所有人都有定制需求,这里分别提供两个方案,Bitnami 的容器方案,和完全基于官方代码进行定制的容器方案。
目前社区最新版是 《stable - Promote 2020 Week 5》 ,Bitnami 会定时从官方仓库中获取版本,并进行容器封装,仓库地址:https://github.com/bitnami/bitnami-docker-phabricator,相比官方更新会稍有延时,但是基本不影响使用。
准备数据库
生产环境推荐使用云服务商提供的数据库,但是如果小规模使用,使用容器启动一个数据库示例也未尝不可。
version: '3.7'

services:

  mariadb:
    image: mariadb
    environment:
      - MYSQL_ROOT_PASSWORD=phabricator
      - MYSQL_DATABASE=phabricator
    command: --max_allowed_packet=33554432 --sql_mode="STRICT_ALL_TABLES" --local-infile=0
    ports:
      - 13306:3306
    networks:
      - traefik
    healthcheck:
      test: "mysqladmin --password=phabricator ping -h 127.0.0.1"
      timeout: 5s
      retries: 20
    volumes:
      - './mariadb_data:/var/lib/mysql'

networks:
  traefik:
    external: true
将上面的内容保存为 docker-compose.yml 并执行 docker-compose up -d 即可。
准备好数据库后,我们聊聊怎么简单启动一个 phabricator 服务。
Bitnami 容器方案
这里提供两个版本的配置文件,更多搭配 Traefik 使用的前置知识可以在 过往的文章中 找到。
搭配 Traefik v1 使用
如果你还在使用 Traefik v1 ,那么使用下面的配置,可以一键启动封装好的稳定版本。
version: '2'
services:

  phabricator:
    image: 'bitnami/phabricator:2019'
    expose:
      - 80
      - 443
    volumes:
      - './phabricator_data:/bitnami'
      - './extensions:/opt/bitnami/phabricator/src/extensions'
    environment:
      - PHABRICATOR_HOST=phabricator.soulteary.com
      - PHABRICATOR_USERNAME=soulteary
      - PHABRICATOR_PASSWORD=soulteary
    networks:
      - traefik
    labels:
      - "traefik.enable=true"
      - "traefik.port=80"
      - "traefik.frontend.rule=Host:phabricator.soulteary.com"
      - "traefik.frontend.entryPoints=https,http"

networks:
  traefik:
    external: true
搭配 Traefik v2 使用
当然,这里更推荐搭配 Traefik v2 一起使用。
version: '3.7'

services:

  phabricator:
    image: 'bitnami/phabricator:2019'
    expose:
      - 80
    networks:
      - traefik
    labels:
      - "traefik.enable=true"
      - "traefik.docker.network=traefik"
      - "traefik.http.routers.phab0.middlewares=https-redirect@file"
      - "traefik.http.routers.phab0.entrypoints=http"
      - "traefik.http.routers.phab0.rule=Host(`phabricator.lab.io`,`phabricator-file.lab.io`)"
      - "traefik.http.routers.phab1.middlewares=content-compress@file"
      - "traefik.http.routers.phab1.entrypoints=https"
      - "traefik.http.routers.phab1.tls=true"
      - "traefik.http.routers.phab1.rule=Host(`phabricator.lab.io`,`phabricator-file.lab.io`)"
      - "traefik.http.services.phabbackend.loadbalancer.server.scheme=http"
      - "traefik.http.services.phabbackend.loadbalancer.server.port=80"
    volumes:
      - './phabricator_data:/bitnami'
      - './extensions:/opt/bitnami/phabricator/src/extensions'

networks:
  traefik:
    external: true
对程序进行汉化
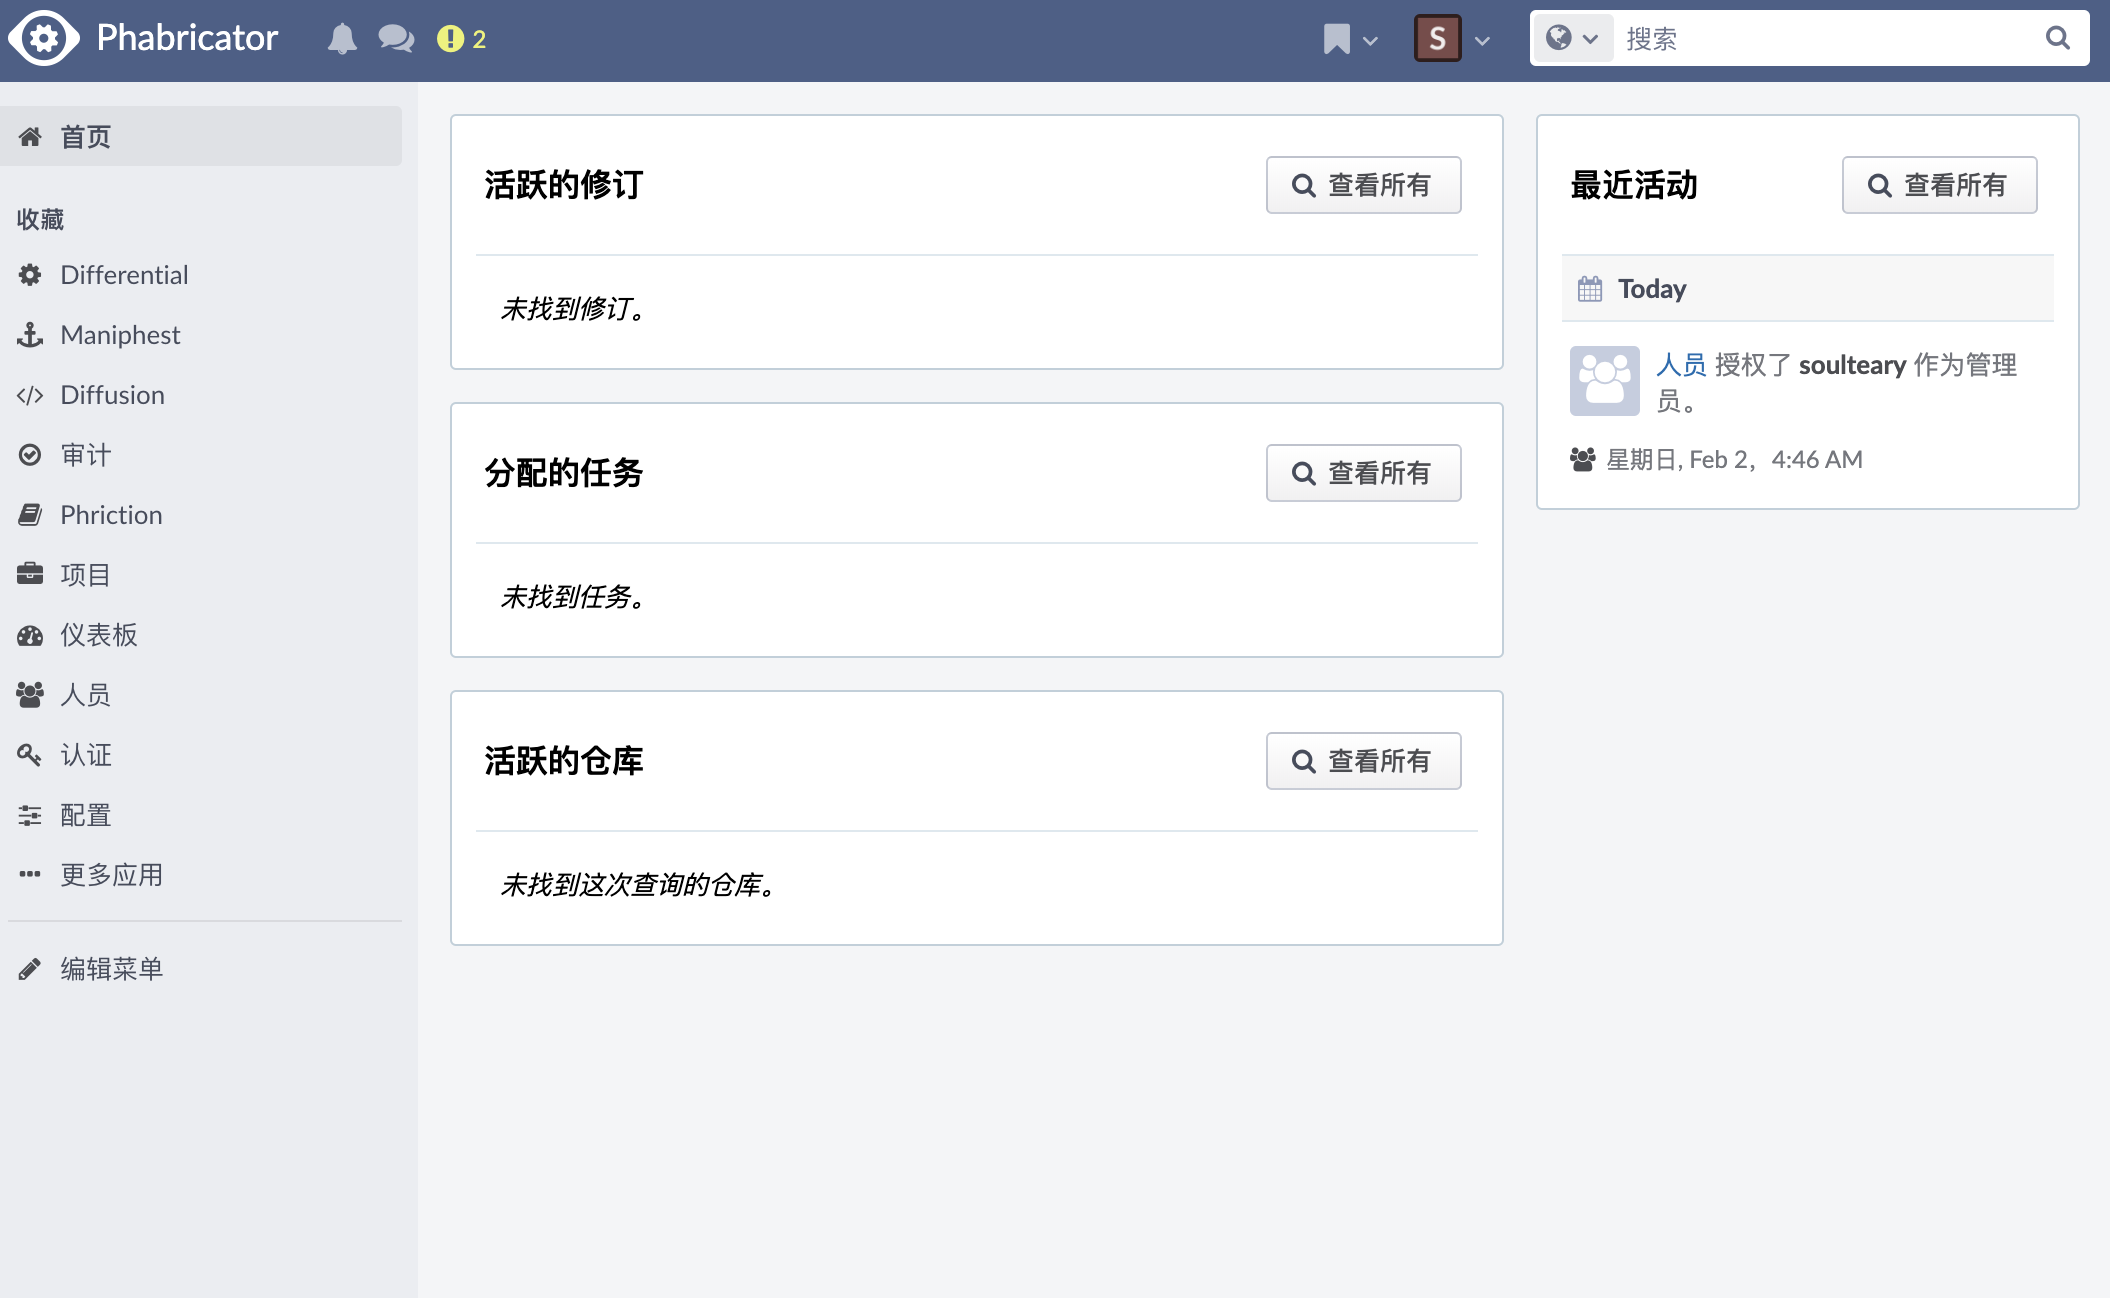
感谢社区网友提供了程序的汉化补丁,下载仓库中的 ** PhabricatorSimplifiedChineseTranslation.php** 并放置于上面配置文件指定的 extensions 目录中后,启动应用,等待应用启动就绪后,在个人设置中切换中文即可。
接下来开始正餐,如何基于源代码对 phabricator 进行容器封装。
封装 Phabricator 容器镜像
官方安装文档 写的比较详细,甚至封装了一个基础的安装脚本,我们基于此进行容器的 Dockerfile 的编写。
FROM ubuntu:18.04

LABEL maintainer="soulteary@gmail.com"

ENV DEBIAN_FRONTEND noninteractive

RUN apt-get update && apt-get upgrade -y && \
    echo 'debconf debconf/frontend select Noninteractive' | debconf-set-selections && export DEBIAN_FRONTEND=noninteractive && \
    apt-get install -y lsb-release curl && \
    # deps from: https://raw.githubusercontent.com/phacility/phabricator/stable/scripts/install/install_ubuntu.sh
    apt-get install -y tzdata sudo && \
    ln -fs /usr/share/zoneinfo/Asia/Shanghai /etc/localtime && \
    apt-get install -y git apache2 libapache2-mod-php php php-mysql php-gd php-curl php-apcu php-cli php-json php-mbstring php-zip python python-pip && \
    a2enmod rewrite && \
    pip install Pygments

WORKDIR /opt

RUN git clone https://github.com/phacility/phabricator.git --branch=stable --depth=1 && \
    cd phabricator && \
    git checkout cc11dff7d317b5a1e82e24ab571fef9abb633a49

RUN git clone https://github.com/phacility/arcanist.git --branch=stable --depth=1 && \
    cd arcanist && \
    git checkout 729100955129851a52588cdfd9b425197cf05815

RUN git clone https://github.com/phacility/libphutil.git --branch=stable --depth=1 && \
    cd libphutil && \
    git checkout 034cf7cc39940b935e83923dbb1bacbcfe645a85

RUN git clone https://github.com/arielyang/phabricator_zh_Hans.git --branch=master --depth=1 && \
    cd phabricator_zh_Hans && \
    git checkout ba5e602d934a6efacdc09082cd3a762449de45cf && \
    cp dist/\(stable\)\ Promote\ 2019\ Week\ 50/PhabricatorSimplifiedChineseTranslation.php ../phabricator/src/extensions/

COPY phabricator/docker-assets ./assets

RUN sed -i -e "s/post_max_size = 8M/post_max_size = 32M/g" /etc/php/7.2/apache2/php.ini && \
    sed -i -e "s/;opcache.validate_timestamps=1/opcache.validate_timestamps = 0/g" /etc/php/7.2/apache2/php.ini

RUN useradd daemon-user && \
    mkdir -p /data/repo && \
    chown -R daemon-user:daemon-user /data/repo && \
    ln -s /usr/lib/git-core/git-http-backend /usr/bin/ && \
    echo "Cmnd_Alias GIT_CMDS = /usr/bin/git*" >> /etc/sudoers.d/www-user-git && \
    echo "www-data ALL=(daemon-user) SETENV: NOPASSWD: GIT_CMDS" >> /etc/sudoers.d/www-user-git && \
    chmod 0440 /etc/sudoers.d/www-user-git

ENTRYPOINT ["bash", "-c", "/opt/assets/entrypoint.sh"]

EXPOSE 80
Dockerfile 主要分为三个部分,第一部分进行基础系统环境配置、系统环境依赖;第二部分获取当前这个版本的程序代码和应用依赖;第三部分配置应用权限、设置容器启动脚本。
这里所需的程序启动脚本 entrypoint.sh 内容如下:
#!/usr/bin/env bash

./phabricator/bin/storage upgrade --force && \
./phabricator/bin/phd start

apachectl -D FOREGROUND
执行的工作也很简单:初始化Phabricator 配置,并启动 Web Server。
相关代码我已经上传至 GitHub,并推送至 DockerHub 有需求的同学可以自取。
编写服务配置
服务配置分为两部分,第一部分是 Web Server 使用的。
<VirtualHost *>
  ServerName phabricator.lab.io
  DocumentRoot /opt/phabricator/webroot
  RewriteEngine on
  RewriteRule ^(.*)$	/index.php?__path__=$1 [B,L,QSA]

  SetEnv HTTPS true

  <Directory "/opt/phabricator/webroot">
    Require all granted
  </Directory>

</VirtualHost>

<VirtualHost *>
  ServerName phabricator-file.lab.io
  DocumentRoot /opt/phabricator/webroot
  RewriteEngine on
  RewriteRule ^(.*)$	/index.php?__path__=$1 [B,L,QSA]

  <Directory "/opt/phabricator/webroot">
    Require all granted
  </Directory>

</VirtualHost>
将上面内容中的域名替换为自己实际使用的地址后,保存为 phabricator.conf,接着准备应用配置:
{
  "phabricator.base-uri": "https://phabricator.lab.io/",
  "security.alternate-file-domain":"https://phabricator-file.lab.io/",
  "pygments.enabled": true,
  "phabricator.timezone":"Asia/Shanghai",
  "storage.local-disk.path":"/data/stor",
  "repository.default-local-path": "/data/repo",
  "phd.user": "daemon-user",
  "mysql.pass": "phabricator",
  "mysql.user": "root",
  "mysql.port": "3306",
  "mysql.host": "mariadb"
}
同样,替换域名为你自己的,并且将配置中的数据库相关内容替换为实际的数值,将文件保存为local.json。(如果数据库使用的是本文的内容,可以不需要修改)
编写容器启动配置
将上面保存的配置文件放置到指定目录后,编写应用启动使用的 docker-compose.yml:
version: '3.7'

services:

  phabricator:
    image: soulteary/phabricator:stable-2020-week-5
    expose:
      - 80
    networks:
      - traefik
    labels:
      - "traefik.enable=true"
      - "traefik.docker.network=traefik"
      - "traefik.http.routers.phab0.middlewares=https-redirect@file"
      - "traefik.http.routers.phab0.entrypoints=http"
      - "traefik.http.routers.phab0.rule=Host(`phabricator.lab.io`,`phabricator-file.lab.io`)"
      - "traefik.http.routers.phab1.middlewares=content-compress@file"
      - "traefik.http.routers.phab1.entrypoints=https"
      - "traefik.http.routers.phab1.tls=true"
      - "traefik.http.routers.phab1.rule=Host(`phabricator.lab.io`,`phabricator-file.lab.io`)"
      - "traefik.http.services.phabbackend.loadbalancer.server.scheme=http"
      - "traefik.http.services.phabbackend.loadbalancer.server.port=80"
    volumes:
      - ./phabricator_data/stor:/data/stor
      - ./phabricator_data/repo:/data/repo
      - ./phabricator/docker-assets/phabricator.conf:/etc/apache2/sites-available/000-default.conf:ro
      - ./phabricator/docker-assets/local.json:/opt/phabricator/conf/local/local.json:ro

networks:
  traefik:
    external: true
使用 docker-compose up -d 将应用启动,并执行 docker-compose logs -f查看应用启动状况。
Creating phabricator-dockerize_phabricator_1 ... done
Attaching to phabricator-dockerize_phabricator_1
phabricator_1  | Loading quickstart template onto "mariadb:3306"...
phabricator_1  | Applying patch "phabricator:db.paste" to host "mariadb:3306"...
phabricator_1  | Applying patch "phabricator:20190523.myisam.01.documentfield.sql" to host "mariadb:3306"...
phabricator_1  | Applying patch "phabricator:20190718.paste.01.edge.sql" to host "mariadb:3306"...
phabricator_1  | Applying patch "phabricator:20190718.paste.02.edgedata.sql" to host "mariadb:3306"...
phabricator_1  | Applying patch "phabricator:20190718.paste.03.paste.sql" to host "mariadb:3306"...
phabricator_1  | Applying patch "phabricator:20190718.paste.04.xaction.sql" to host "mariadb:3306"...
phabricator_1  | Applying patch "phabricator:20190718.paste.05.comment.sql" to host "mariadb:3306"...
phabricator_1  | Applying patch "phabricator:20190802.email.01.storage.sql" to host "mariadb:3306"...
phabricator_1  | Applying patch "phabricator:20190802.email.02.xaction.sql" to host "mariadb:3306"...
phabricator_1  | Applying patch "phabricator:20190815.account.01.carts.php" to host "mariadb:3306"...
phabricator_1  | Applying patch "phabricator:20190815.account.02.subscriptions.php" to host "mariadb:3306"...
phabricator_1  | Applying patch "phabricator:20190816.payment.01.xaction.sql" to host "mariadb:3306"...
phabricator_1  | Applying patch "phabricator:20190816.subscription.01.xaction.sql" to host "mariadb:3306"...
phabricator_1  | Applying patch "phabricator:20190822.merchant.01.view.sql" to host "mariadb:3306"...
phabricator_1  | Applying patch "phabricator:20190909.herald.01.rebuild.php" to host "mariadb:3306"...
phabricator_1  | Applying patch "phabricator:20190924.diffusion.01.permanent.sql" to host "mariadb:3306"...
phabricator_1  | Applying patch "phabricator:20190924.diffusion.02.default.sql" to host "mariadb:3306"...
phabricator_1  | Applying patch "phabricator:20191028.uriindex.01.rebuild.php" to host "mariadb:3306"...
phabricator_1  | Applying patch "phabricator:20191113.identity.01.email.sql" to host "mariadb:3306"...
phabricator_1  | Applying patch "phabricator:20191113.identity.02.populate.php" to host "mariadb:3306"...
phabricator_1  | Applying patch "phabricator:20191113.identity.03.unassigned.sql" to host "mariadb:3306"...
phabricator_1  | Applying patch "phabricator:20191114.email.01.phid.sql" to host "mariadb:3306"...
phabricator_1  | Applying patch "phabricator:20191114.email.02.populate.php" to host "mariadb:3306"...
phabricator_1  | Storage is up to date. Use "storage status" for details.
phabricator_1  | Synchronizing static tables...
phabricator_1  | Verifying database schemata on "mariadb:3306"...
phabricator_1  |
phabricator_1  |
phabricator_1  | Database                 Table                 Name         Issues
phabricator_1  | phabricator_differential differential_revision phid         Surplus Key
phabricator_1  | phabricator_differential differential_revision key_modified Missing Key
phabricator_1  | phabricator_differential differential_revision key_phid     Missing Key
phabricator_1  | phabricator_repository   repository_identity   key_email    Missing Key
phabricator_1  | phabricator_phortune     phortune_accountemail key_account  Missing Key
phabricator_1  | phabricator_phortune     phortune_accountemail key_address  Missing Key
phabricator_1  | phabricator_phortune     phortune_accountemail key_phid     Missing Key
phabricator_1  | phabricator_user         user_email            key_phid     Missing Key
phabricator_1  | phabricator_conpherence  conpherence_index                  Better Table Engine Available
phabricator_1  | Applying schema adjustments...
phabricator_1  | Completed applying all schema adjustments.
phabricator_1  |  ANALYZE  Analyzing tables...
phabricator_1  |  ANALYZED  Analyzed 535 table(s).
phabricator_1  | Freeing active task leases...
phabricator_1  | Freed 0 task lease(s).
phabricator_1  | Starting daemons as daemon-user
phabricator_1  | Launching daemons:
phabricator_1  | (Logs will appear in "/var/tmp/phd/log/daemons.log".)
phabricator_1  |
phabricator_1  |     (Pool: 1) PhabricatorRepositoryPullLocalDaemon
phabricator_1  |     (Pool: 1) PhabricatorTriggerDaemon
phabricator_1  |     (Pool: 1) PhabricatorFactDaemon
phabricator_1  |     (Pool: 4) PhabricatorTaskmasterDaemon
phabricator_1  |
phabricator_1  | Done.
phabricator_1  | AH00558: apache2: Could not reliably determine the server's fully qualified domain name, using 172.20.0.4. Set the 'ServerName' directive globally to suppress this message
当看到 Done. 的时候,就可以打开浏览器对 Phabricator 进行进一步配置啦。

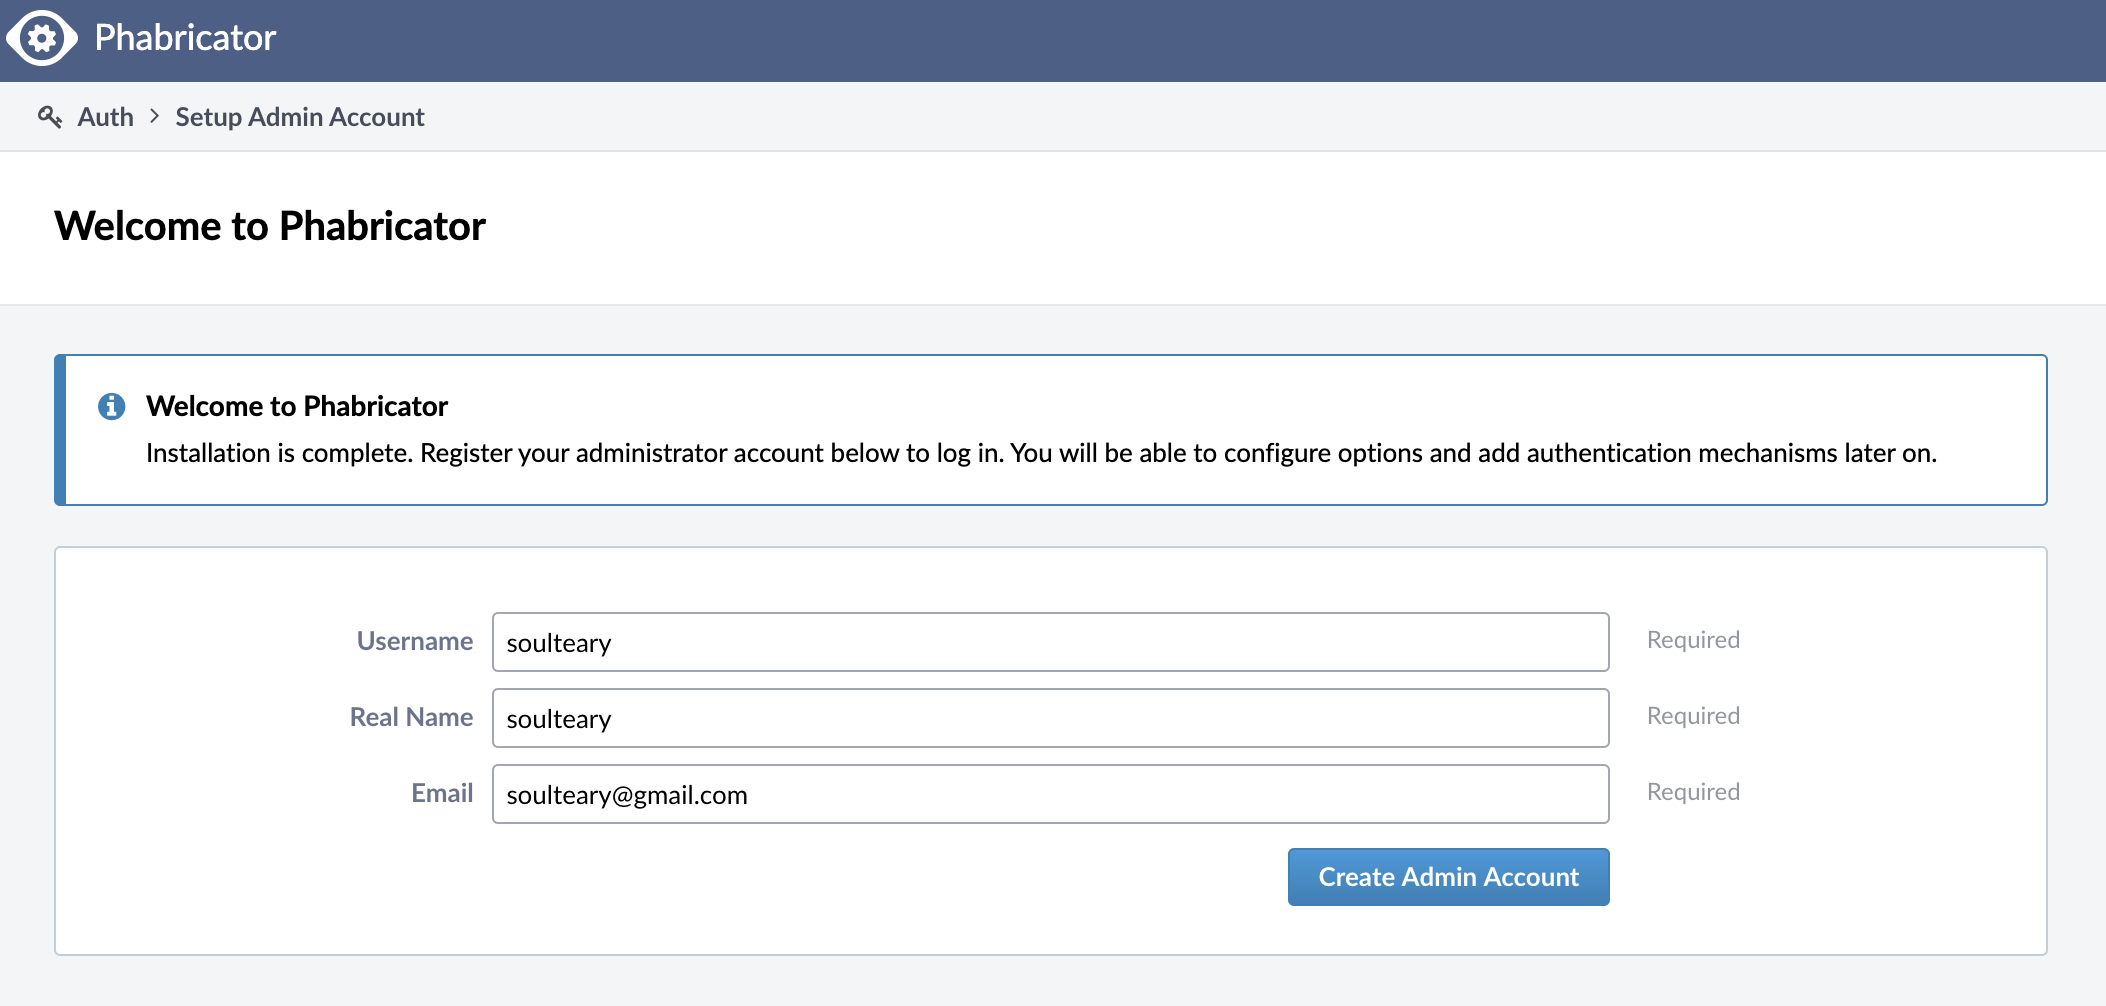
打开浏览器,输入你配置的域名后,Phabricator 将跳转至 Dashboard。

剩下的事情就是根据你自己的需求进行应用配置啦。
最后
Phabricator 的搭建只是第一步,与现有仓库集成、与CI 集成等内容留与后续再写吧。
–EOF